Turning on Chart of Account Numbers

3000-3999 - Equity
4000-4999 - Income
5000-5999 - Cost of Goods Sold
6000-6999 - Expenses
7000-7999 - Other Income
 NOTE: If account numbers/codes are not added to the Chart of Account codes before conversion, system generated codes such as "NOCODE" will be applied.
Turning on Account Numbers Quickbooks Online
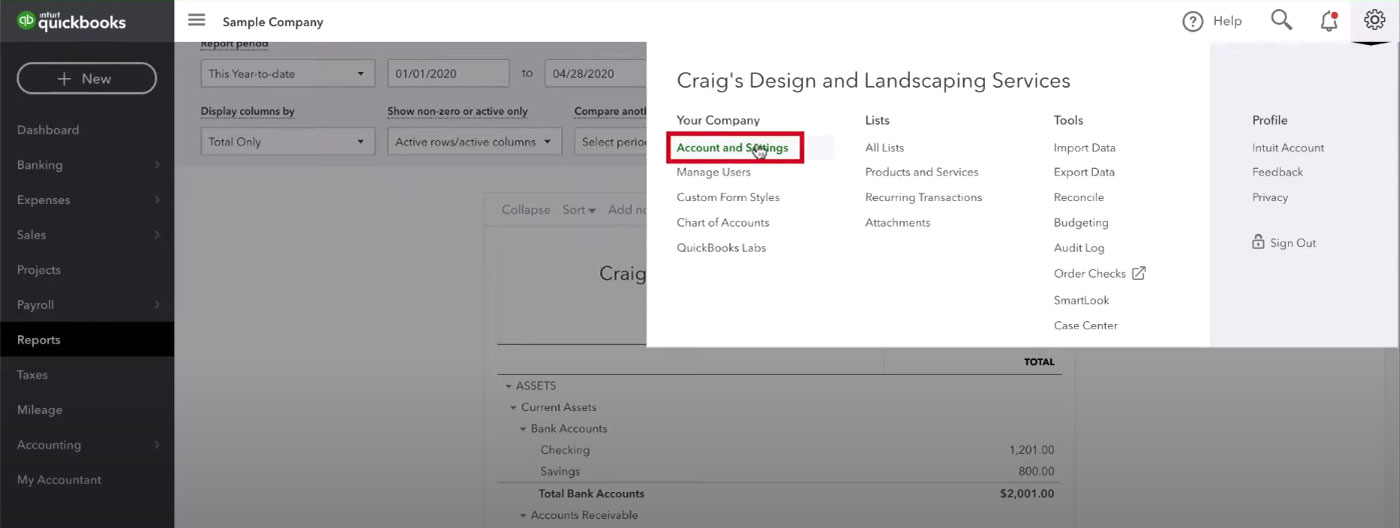
1. Click the gear ⚙ in the upper right-hand corner.
2. Click Account and Settings in the Your Company section.
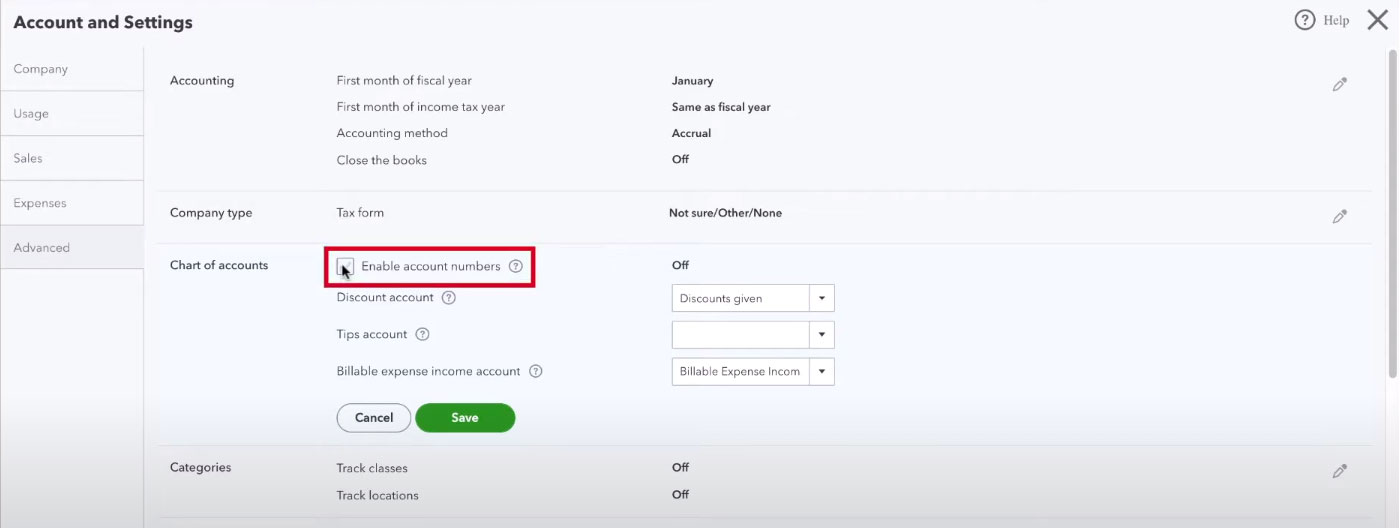
3. Click Advanced on the left-hand side.

4. In the 3rd option, Chart of Accounts, you’ll see Enable account numbers is off. Click the pencil ✎ on the right-hand side of this section.

5. Check the Enable account numbers box, you’ll see “off” change to “on.”
6. A Show account numbers checkbox will appear, check this box as well.
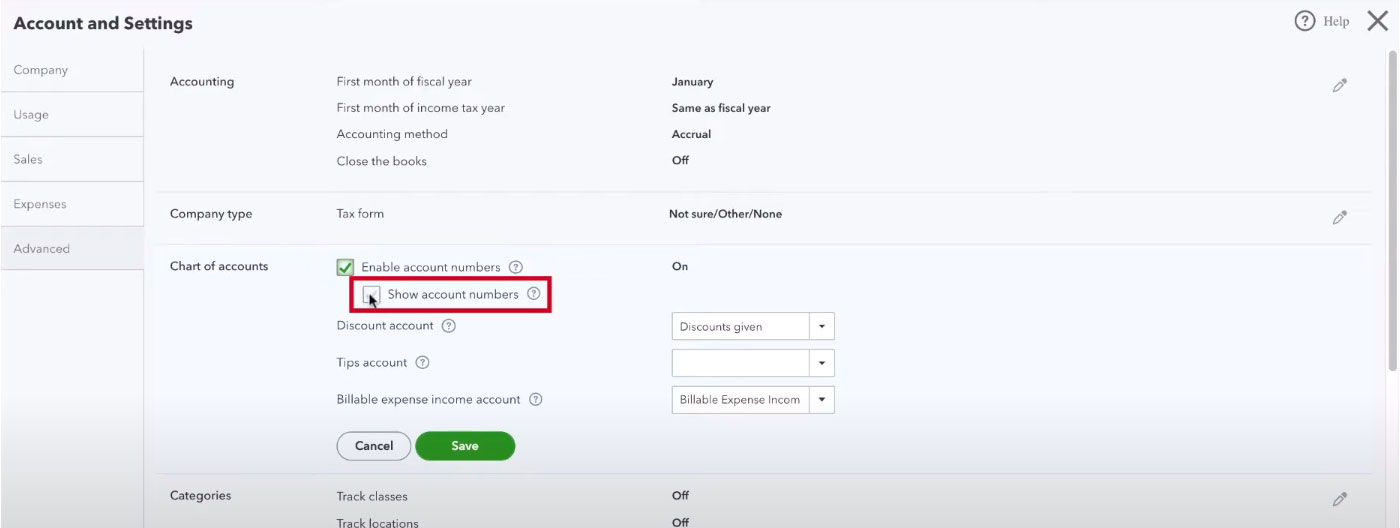
7. Click the green Save button.
8. Click the green Done button in the lower right-hand corner of the screen.
Turning on Account Numbers for Reckon & QuickBooks Desktop


Assigning Numbers to Accounts Quickbooks Online
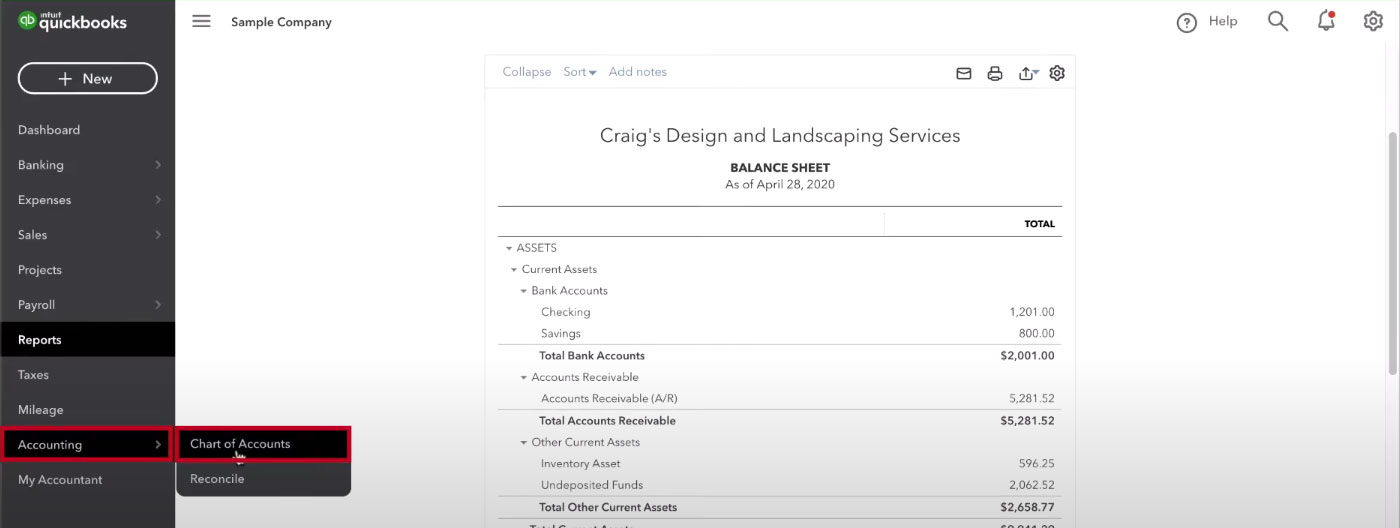
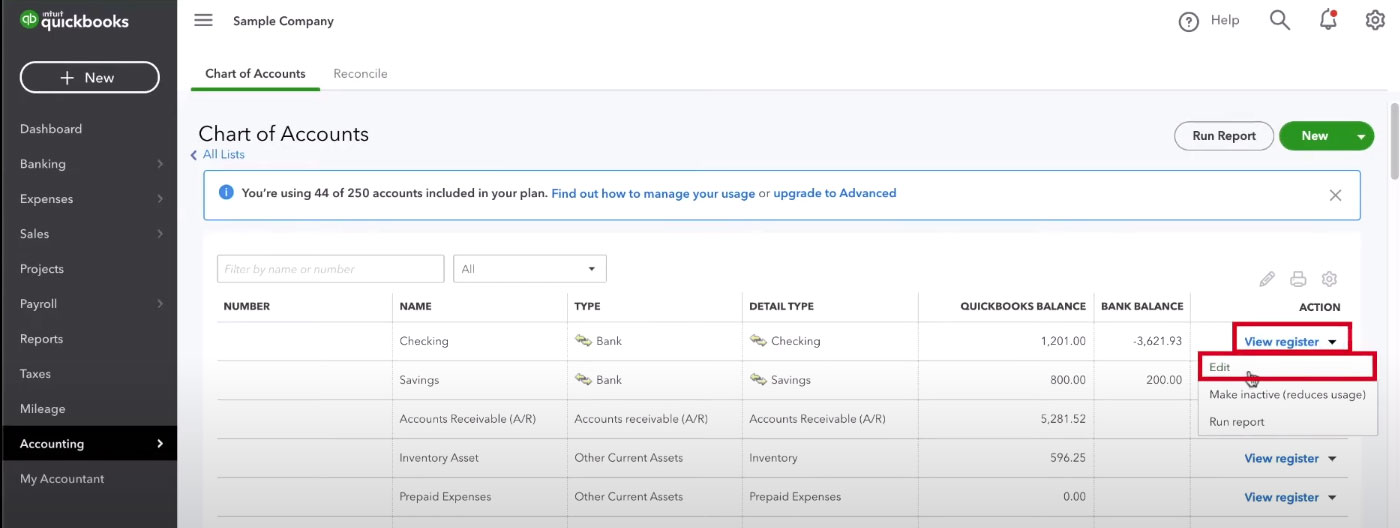
1. In the right-hand menu select Accounting and then Chart of Accounts.
2. Click the drop-down next to View register on an account and click Edit.
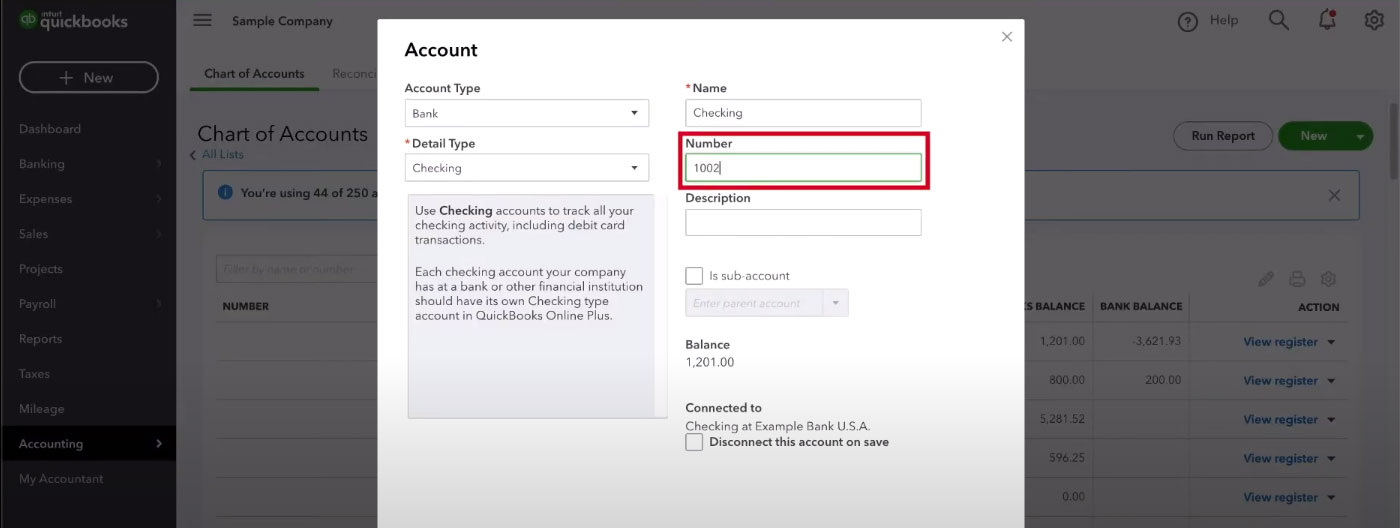
3. The Number field will be on the right under Name. Enter a number and then click the green Save and Close button in the lower right.
You’ll now see the number in the Number field in your Chart of Accounts. This number will also appear in the Name field in front of the accounts name. The accounts name has not changed this is just how Quickbooks displays it.
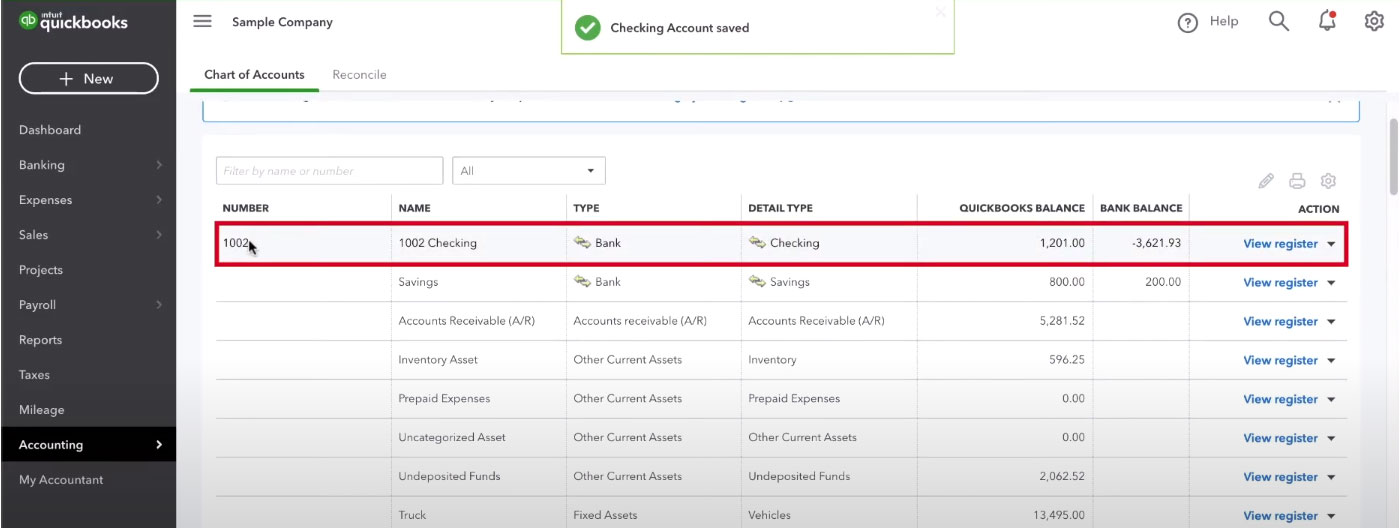
If you view your Balance Sheet you will now see your accounts in order by number instead of alphabetically.
Assigning Numbers for Reckon & QuickBooks Desktop
Related Articles
Updating the Chart of Accounts in Xero
Updating the Chart of Accounts in Xero The Chart of Accounts can be updated after conversion, and the most efficient way to do this is in bulk. Simply export the chart from Xero, make your updates, and re-import it back into the system. IMPORTANT ...Chart of Accounts
Chart of Accounts All accounts—including bank accounts—are brought into Xero during conversion, regardless of whether they are marked active or inactive in the source. This ensures historical transactions remain intact. If you no longer need certain ...Bank Versus Asset/Liability Accounts
In Xero if you would like to be able to reconcile an account it needs to be a bank account, you don’t have to have linked bank feeds if not required. As such it is an operational decision whether it is a bank account or an asset/liability account. It ...Bank Account Mapping
Bank Account Mapping is included with the Accelerate and Custom packages. It can be added to the Standard package as an optional feature. If the Bank Account Mapping option is not selected, we convert the accounts based on the set up in the source ...Account Types In Xero
During the conversion we will import the accounts as per the setup of the source file unless you have elected a package that allows you to change bank accounts during the conversion process or you have over 990 accounts in your chart of accounts. It ...